

If you run a WordPress site that serves people from different countries, a language switcher is one of the most useful tools you can add. It lets visitors pick the language they’re comfortable reading in, without leaving your site or getting stuck on a page they can’t understand.
In this guide, we’ll explain what a language switcher is, why your website needs one, and how to add a language switcher to your WordPress site step by step.
What Is a Language Switcher?
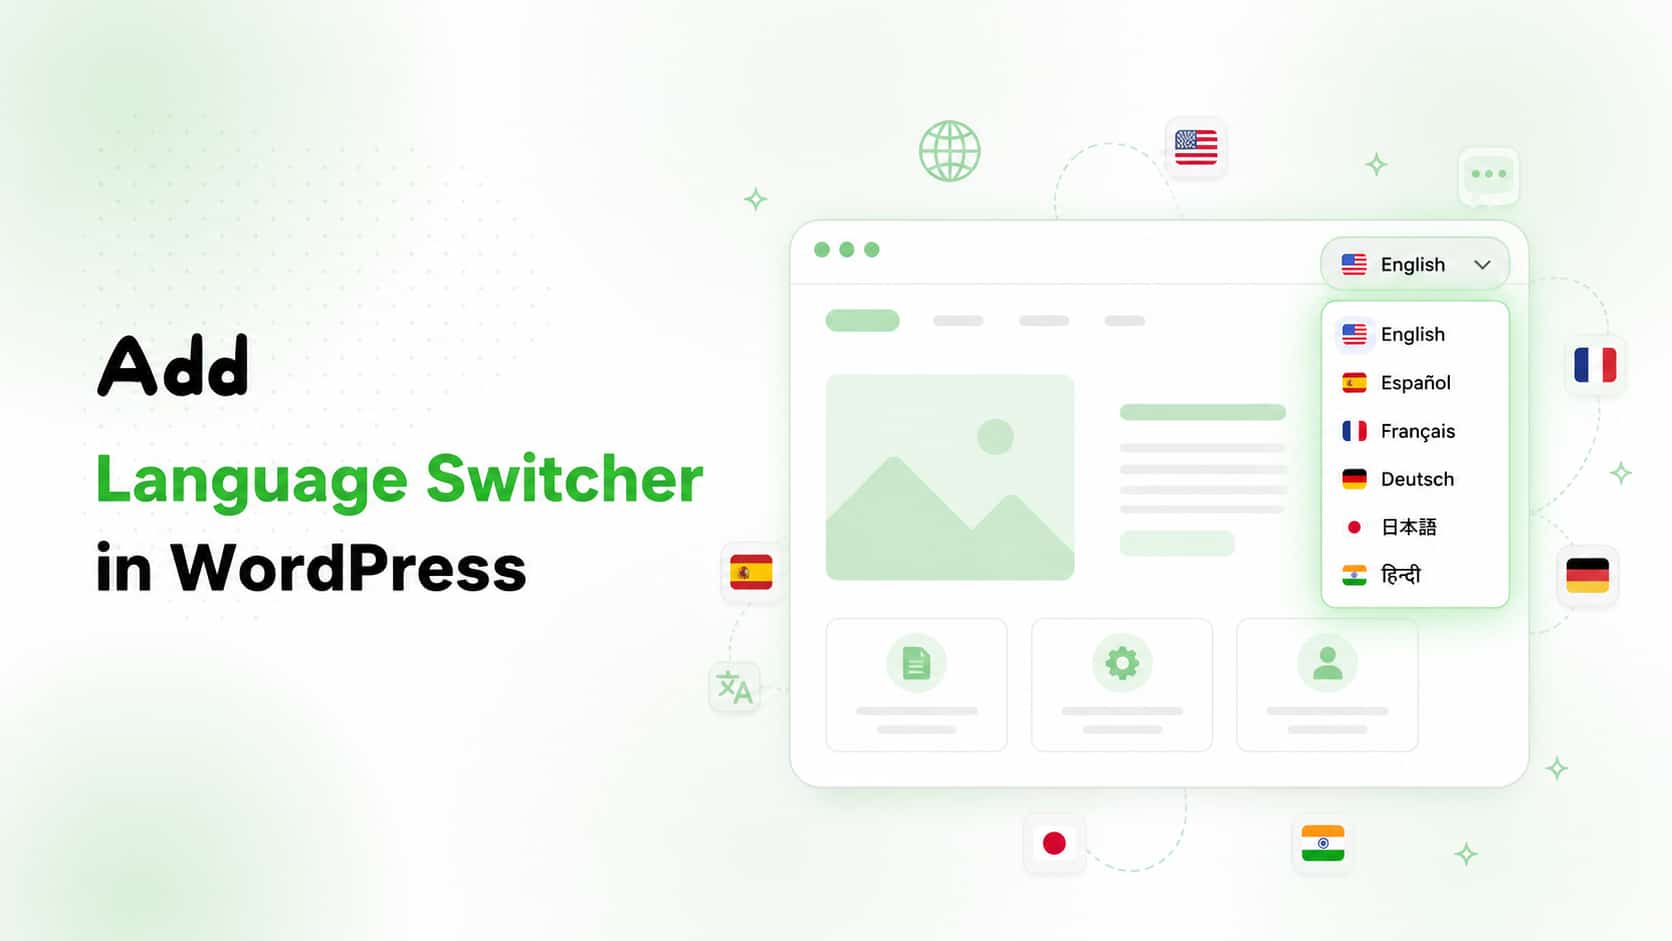
A language switcher is a small menu or widget on your website that lets visitors change the site’s language with a single click. You’ve probably seen it before, usually a flag icon or a dropdown list of language names, tucked into the header, footer, or navigation menu of a website.
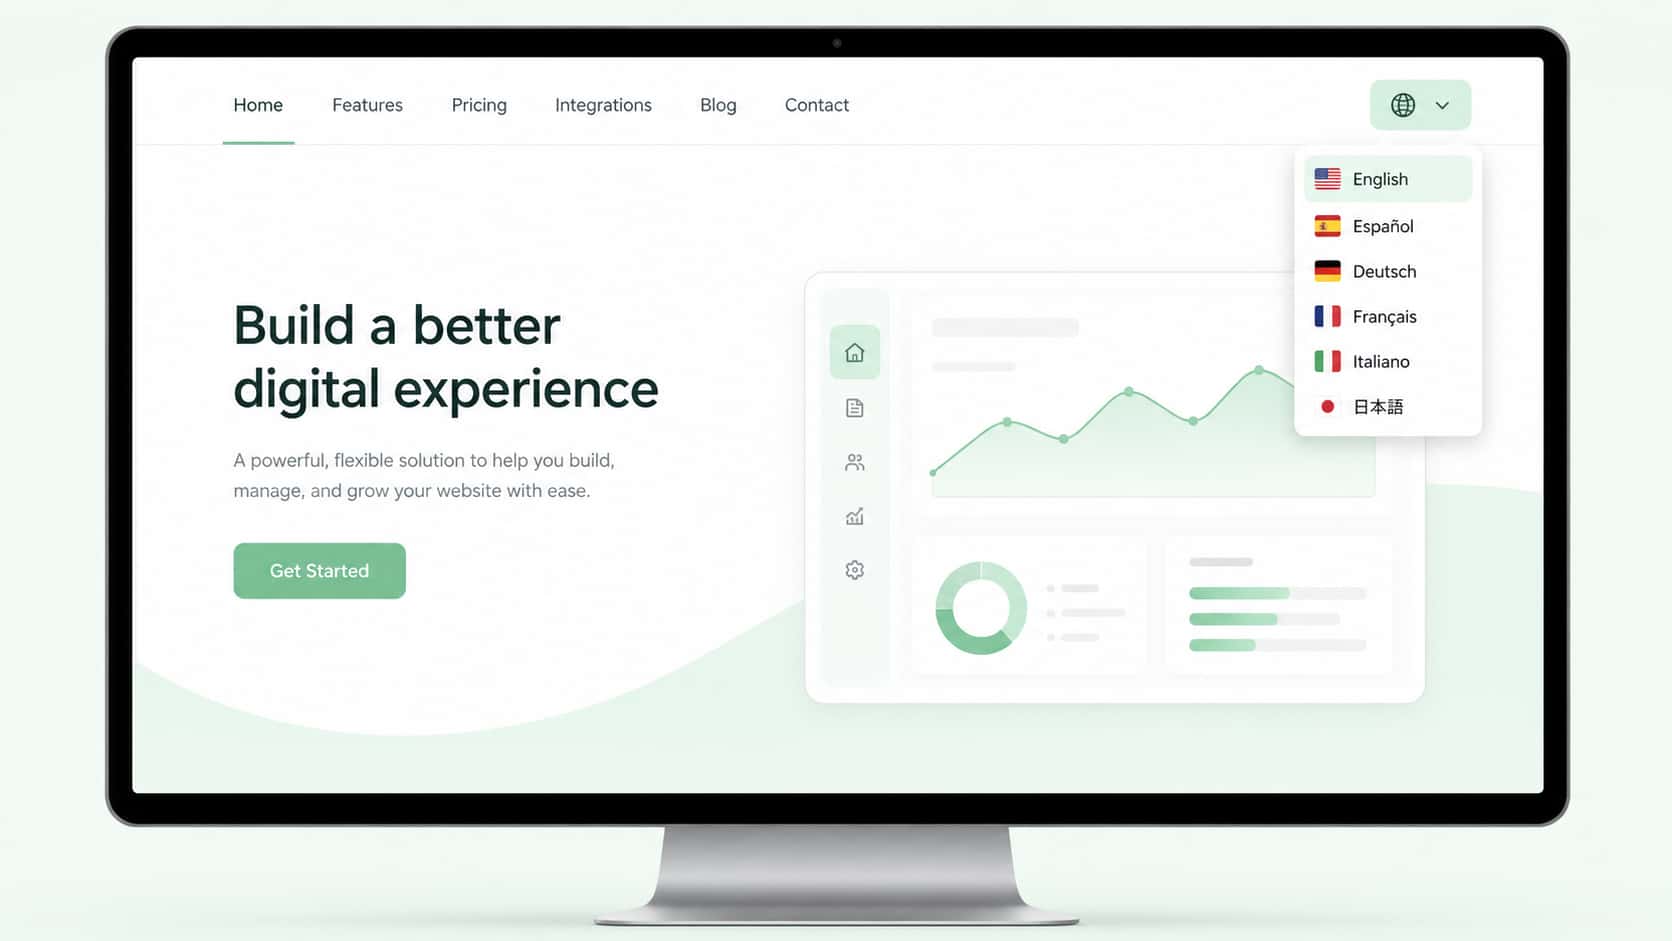
Instead of forcing every visitor to read content in just one language, a language switcher gives them control. Someone browsing from Spain can switch to Spanish. A visitor from Germany can view the site in German. This small feature can make a big difference in how long people stay on your site and how much they trust it.
Why Your WordPress Website Needs a Language Switcher
Before jumping into the setup process, here’s why this feature matters:
- Better user experience – Visitors stay longer and take action when they can understand your content.
- Improved SEO and global reach – Search engines index translated pages more effectively, boosting visibility in different countries.
- Increased trust and credibility – A site in a visitor’s native language feels more professional and intentional.
- Lower bounce rate – Visitors who can’t read a page usually leave fast; a switcher gives them an easy alternative.
- Competitive advantage – Offering a multilingual experience helps you stand out in industries like e-commerce, travel, education, and SaaS.
What You Need Before Adding a Language Switcher
To add a language switcher to WordPress, you’ll need a multilingual plugin installed on your site. WordPress doesn’t include this feature by default, so a plugin handles the translation setup and the switcher itself.
In this guide, we’ll walk through the process using Linguator, a free AI-powered multilingual plugin for WordPress. It’s beginner-friendly, doesn’t require third-party subscriptions, and works well with popular page builders like Elementor and Gutenberg.
Before adding the switcher, make sure you have:
- WordPress installed and running
- The Linguator plugin installed and activated
- At least two languages configured through the setup wizard (a default language and one or more target languages)
Once these are in place, you’re ready to add the switcher.
How to Add a Language Switcher to Your WordPress Website (Step-by-Step)
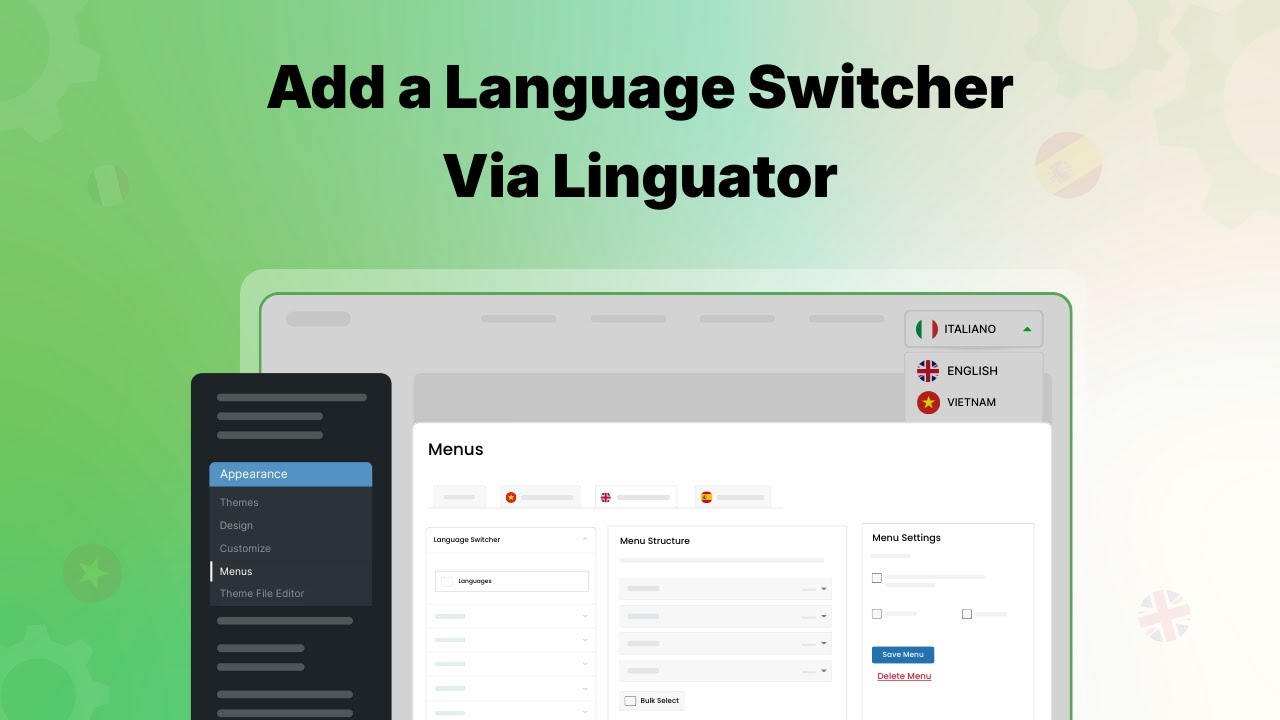
Here’s the full process broken down into simple steps.
Step 1: Go to Appearance > Menus
From your WordPress Dashboard, hover over Appearance in the left sidebar, then click Menus. This is where you manage all the navigation menus on your site.
Step 2: Enable the Language Switcher Option
By default, the Language Switcher option may be hidden from the menu editor. To make it visible:
- Click Screen Options in the top-right corner of the page
- Check the box next to Language Switcher
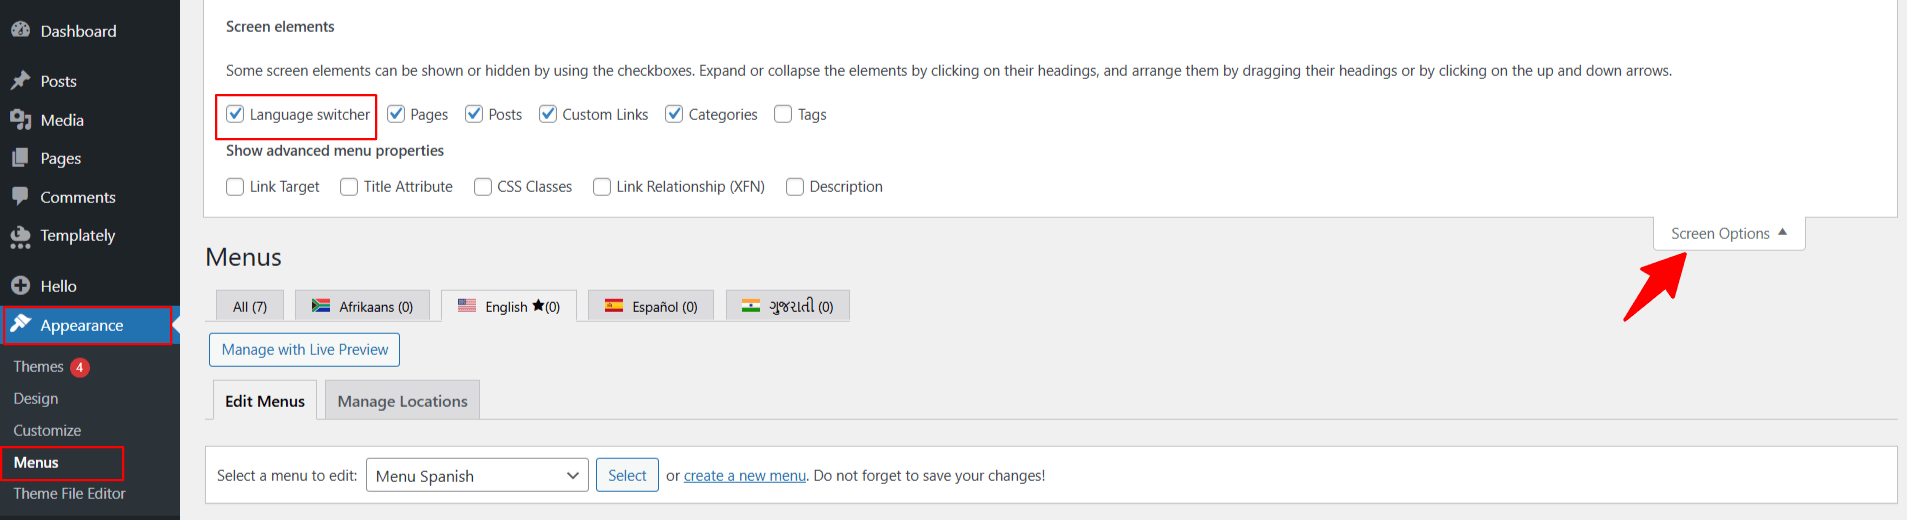
Once enabled, the Language Switcher option will now appear in the list of menu items you can add.
Step 3: Add the Language Switcher to Your Menu
Find the Language Switcher item in the list, select it, and click Add to Menu. It will now appear in your menu structure on the right side of the screen, alongside your other menu items.
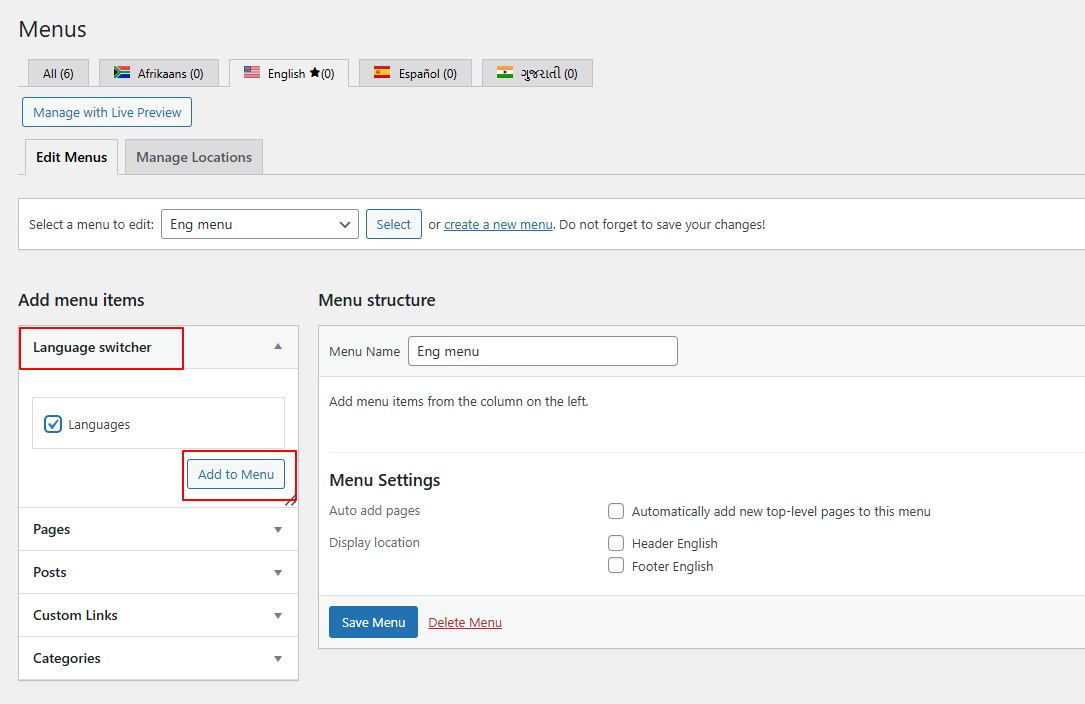
Step 4: Customize the Display Settings
This is where you can make the switcher match your site’s style and your visitors’ needs. Common customization options include:
- Display format – Choose whether to show language names, flags, or both
- Show or hide the current language – Decide if the language visitors are currently viewing should also appear in the switcher
- Hide untranslated languages – Prevent visitors from clicking into a language version of a page that hasn’t been translated yet
- Order of languages – Arrange languages in the order you want them to appear
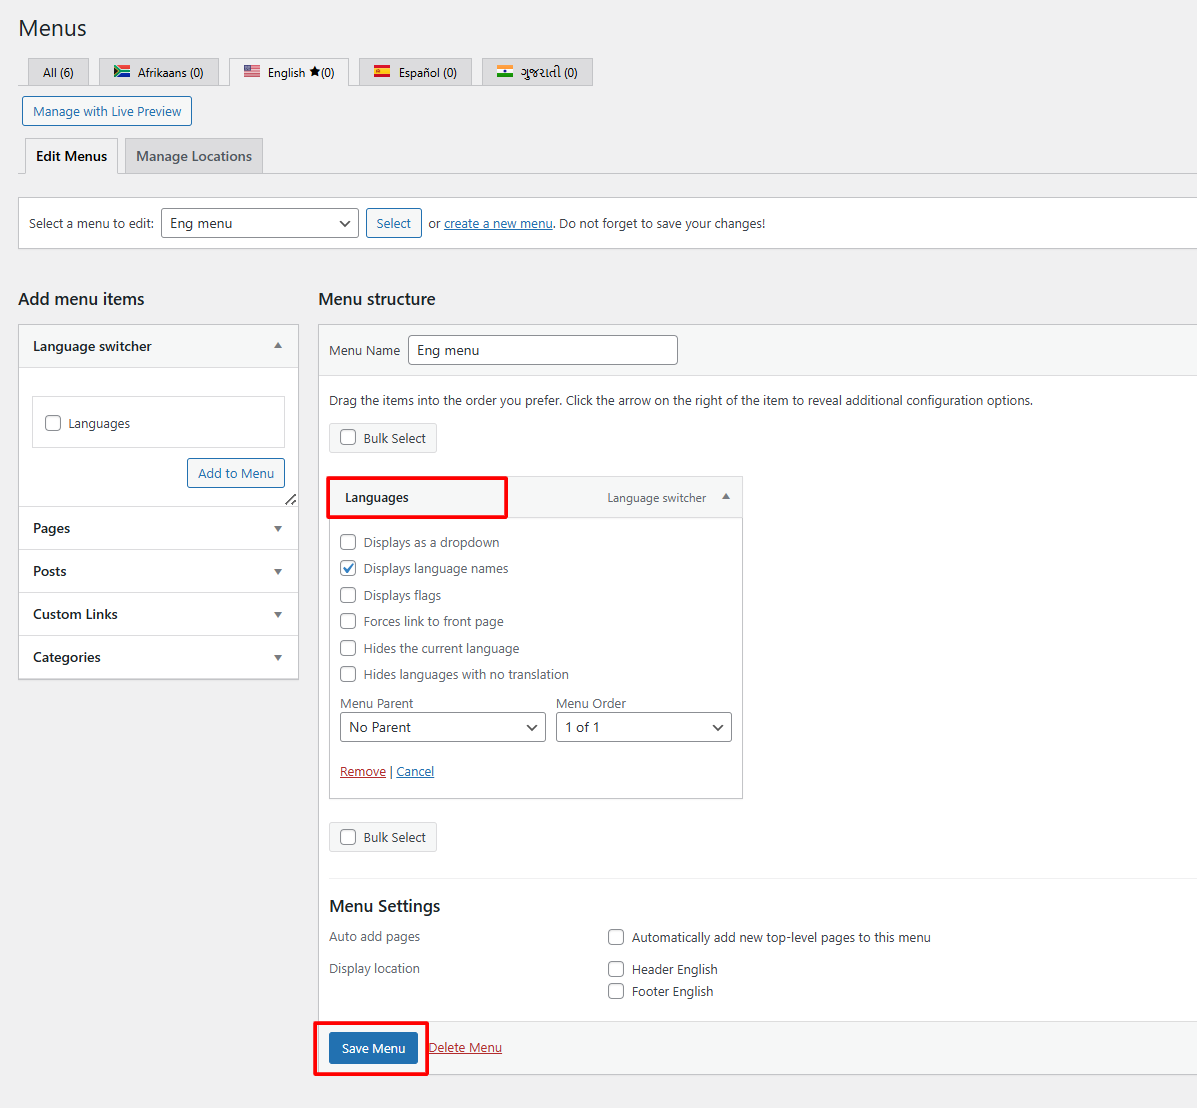
Take a moment to adjust these settings based on how you want the switcher to look and behave on your live site.
Step 5: Save the Menu
Once you’re done with the setup, click Save Menu. Your language switcher is now live on your website.
Step 6: Test It on Your Live Site
Visit your website and check the menu to confirm the switcher is working correctly. Click through each language option to make sure it takes visitors to the correctly translated version of the page.
Best Practices for Using a Language Switcher
Adding the switcher is just the first step. Here are a few tips to make sure it actually works well for your visitors.
Place It Somewhere Visible
The most common (and effective) locations are the top navigation bar, the header, or the footer. Visitors should be able to find it within a few seconds of landing on your site.
Keep It Simple
Avoid cluttering the switcher with too many options or a design that doesn’t match your site. A clean dropdown or a short row of flags usually works best.
Don’t Auto-Redirect Without Choice
Some websites try to automatically detect a visitor’s location and redirect them to a specific language version. While well-intentioned, this can frustrate visitors who prefer a different language. It’s usually better to detect their language as a suggestion, while still letting them choose manually through the switcher.
Keep Translations Updated
A language switcher only works well if the translated content behind it is accurate and current. Make it a habit to update translated pages whenever you update your main content.
Common Mistakes to Avoid
- Forgetting to translate key pages – Adding a switcher without translating your core pages (like your homepage, About page, or Contact page) creates a broken experience.
- Hiding the switcher too deep in the menu – If visitors have to hunt for it, they probably won’t use it.
- Ignoring mobile users – Make sure the switcher displays properly and is easy to tap on smaller screens.
- Overloading with too many languages too soon – Start with one or two target languages, translate them well, and expand as needed.
Final Thoughts
A language switcher might seem like a small addition, but it plays a big role in how welcoming and accessible your website feels to visitors around the world. With a plugin like Linguator, setting one up takes just a few minutes, no coding, no complicated configuration, and no extra cost.
Once it’s live, take the time to fine-tune its placement, design, and translated content so it genuinely improves the experience for every visitor, no matter what language they speak.
If you haven’t added a language switcher to your WordPress site yet, now is a great time to start. It’s a simple change that can open your website up to a much wider, more global audience.