The Language Switcher allows visitors to easily change the language of your website. Using Linguator, you can easily add a language switcher to your navigation menu.
Follow the steps below to add and display a language switcher on your site:
- From your WordPress Dashboard, navigate to Appearance > Menus.
- At the top-right corner of the page, click on Screen Options to ensure that the Language Switcher option is enabled.
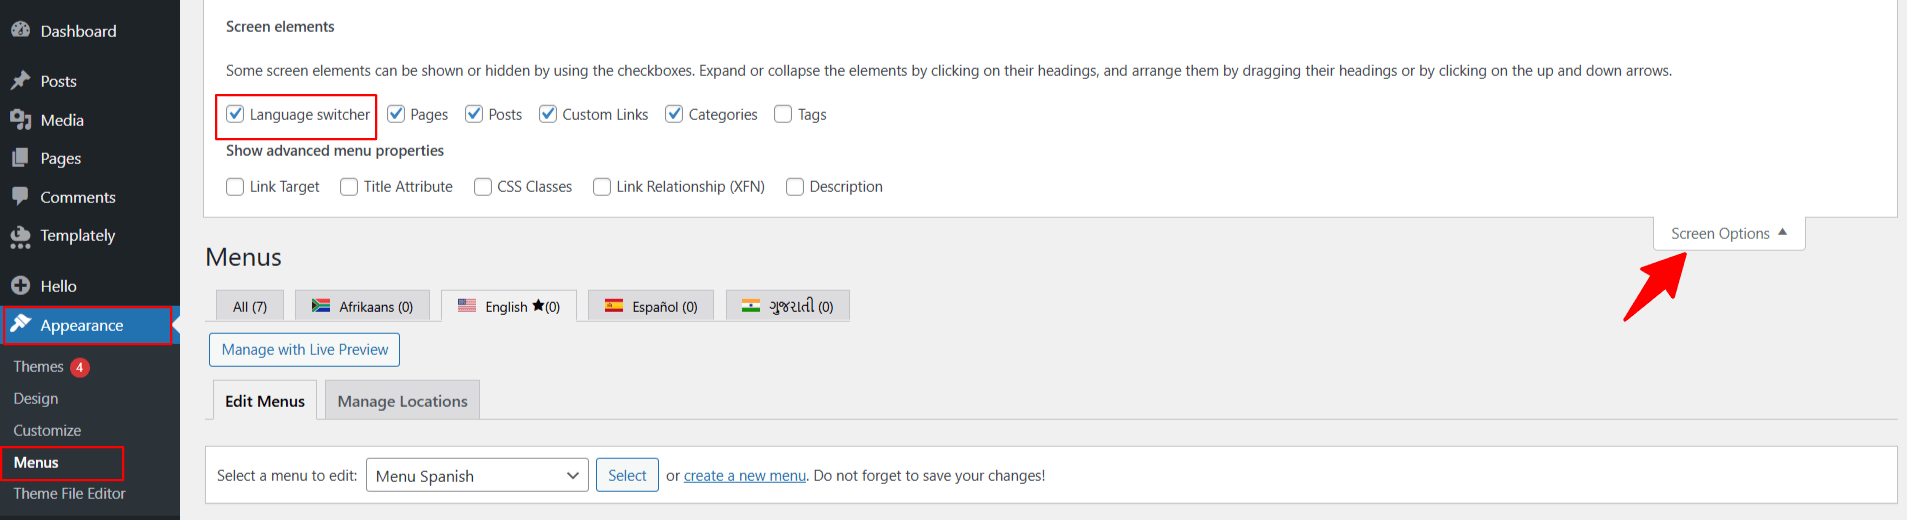
- Once enabled, you’ll see the Language Switcher option in the menu item list.
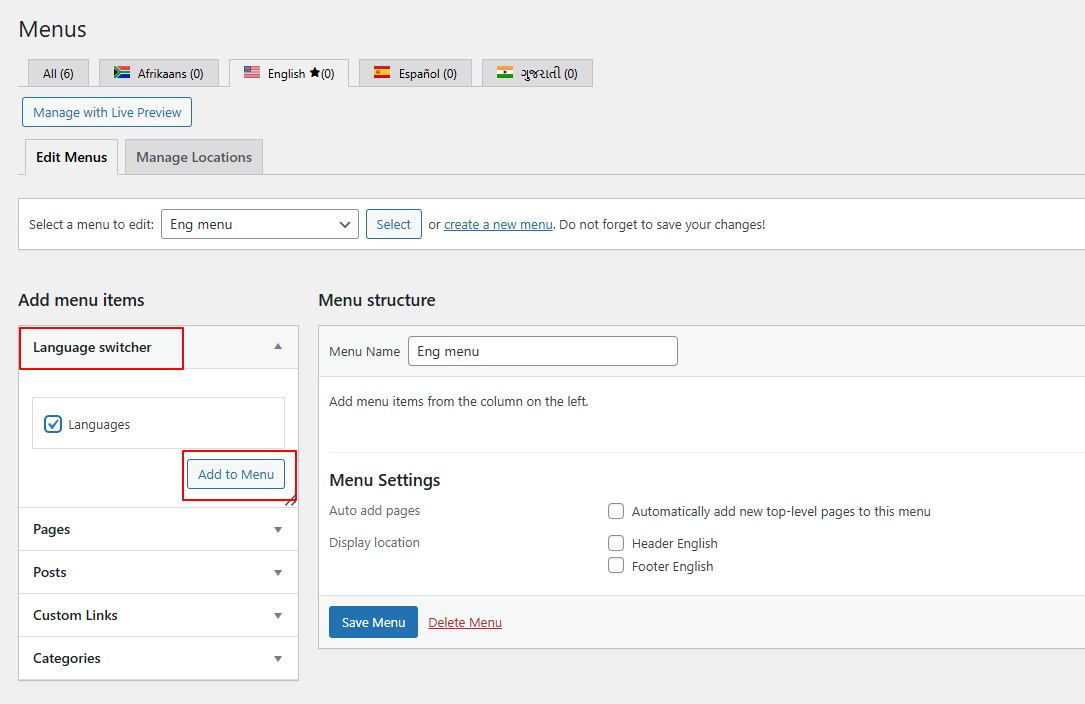
- Select the Language Switcher and click Add to Menu.
- Choose your preferred display settings for the language switcher:
- Display language names or flags (or both).
- Show or hide the current language.
- Hide languages with no translation and more.
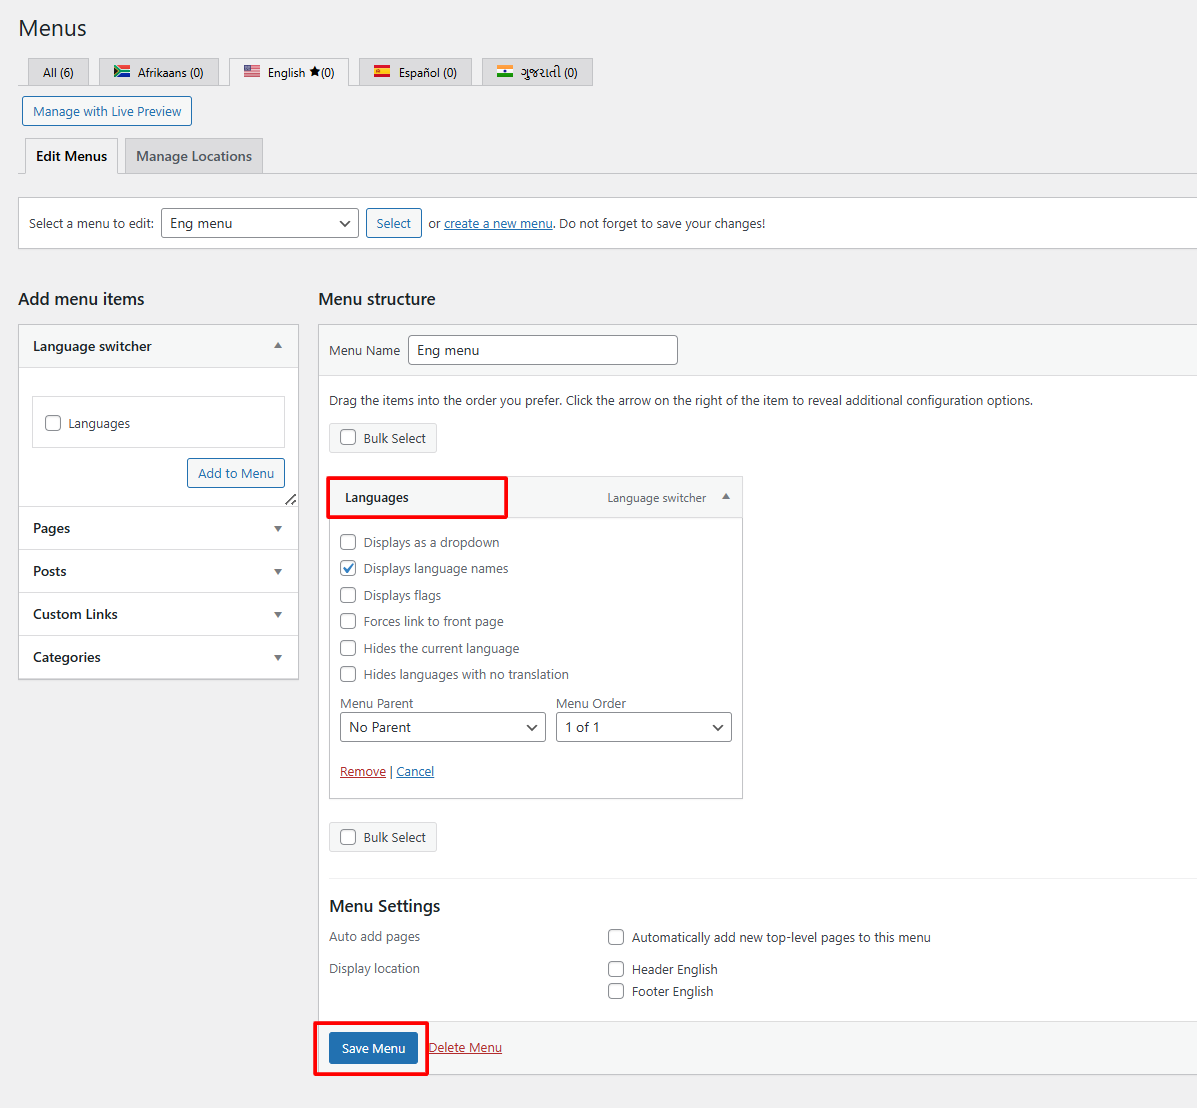
- After adjusting your preferences, click Save Menu to apply the changes.
That’s it! A powerful language switcher will be successfully added to your page, allowing users to easily switch between the available languages on your site.