With Linguator, you can easily translate your Gutenberg pages either manually or automatically. In this section, you’ll learn how to use both methods step by step.
Manual Translation
Follow the steps below to manually translate your Gutenberg page content using Linguator:
- Navigate to Pages or Posts from your WordPress dashboard.
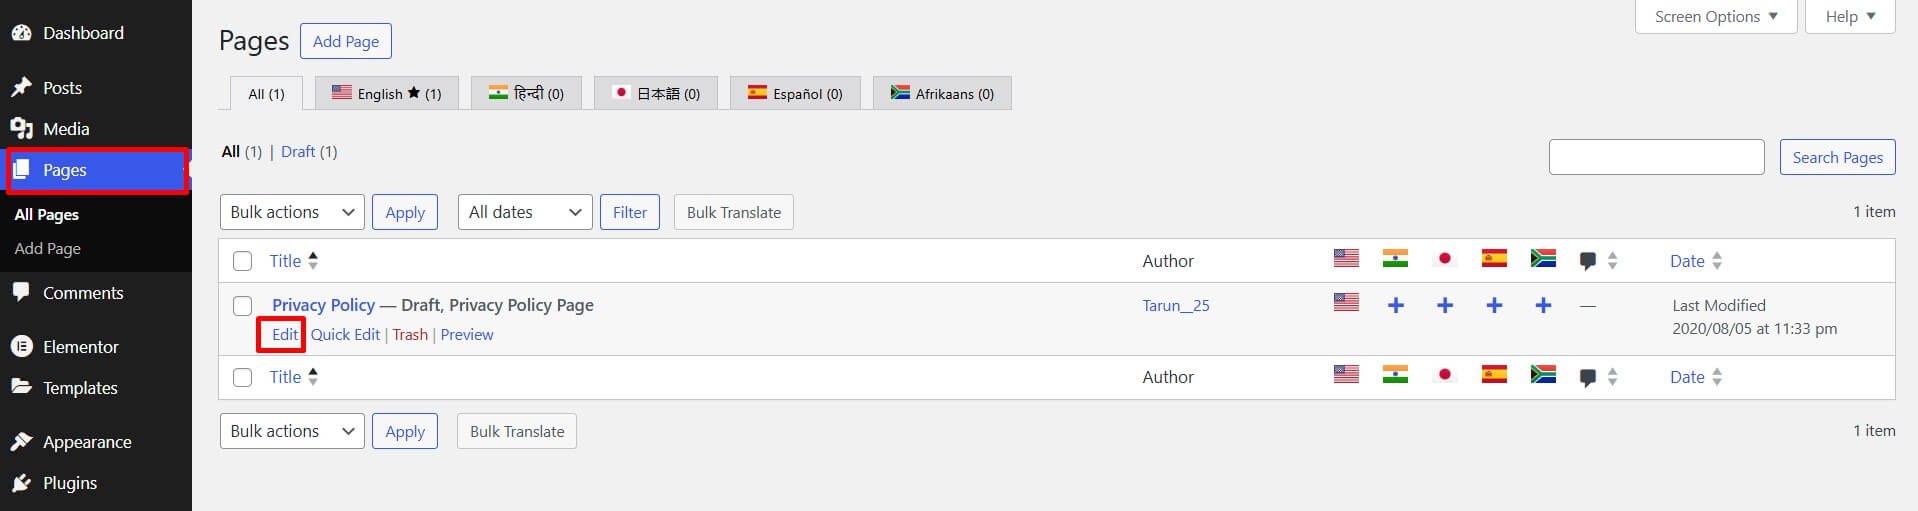
- Click Edit under the page or post you want to translate.
- From the sidebar of the page editor, access languages settings tab.
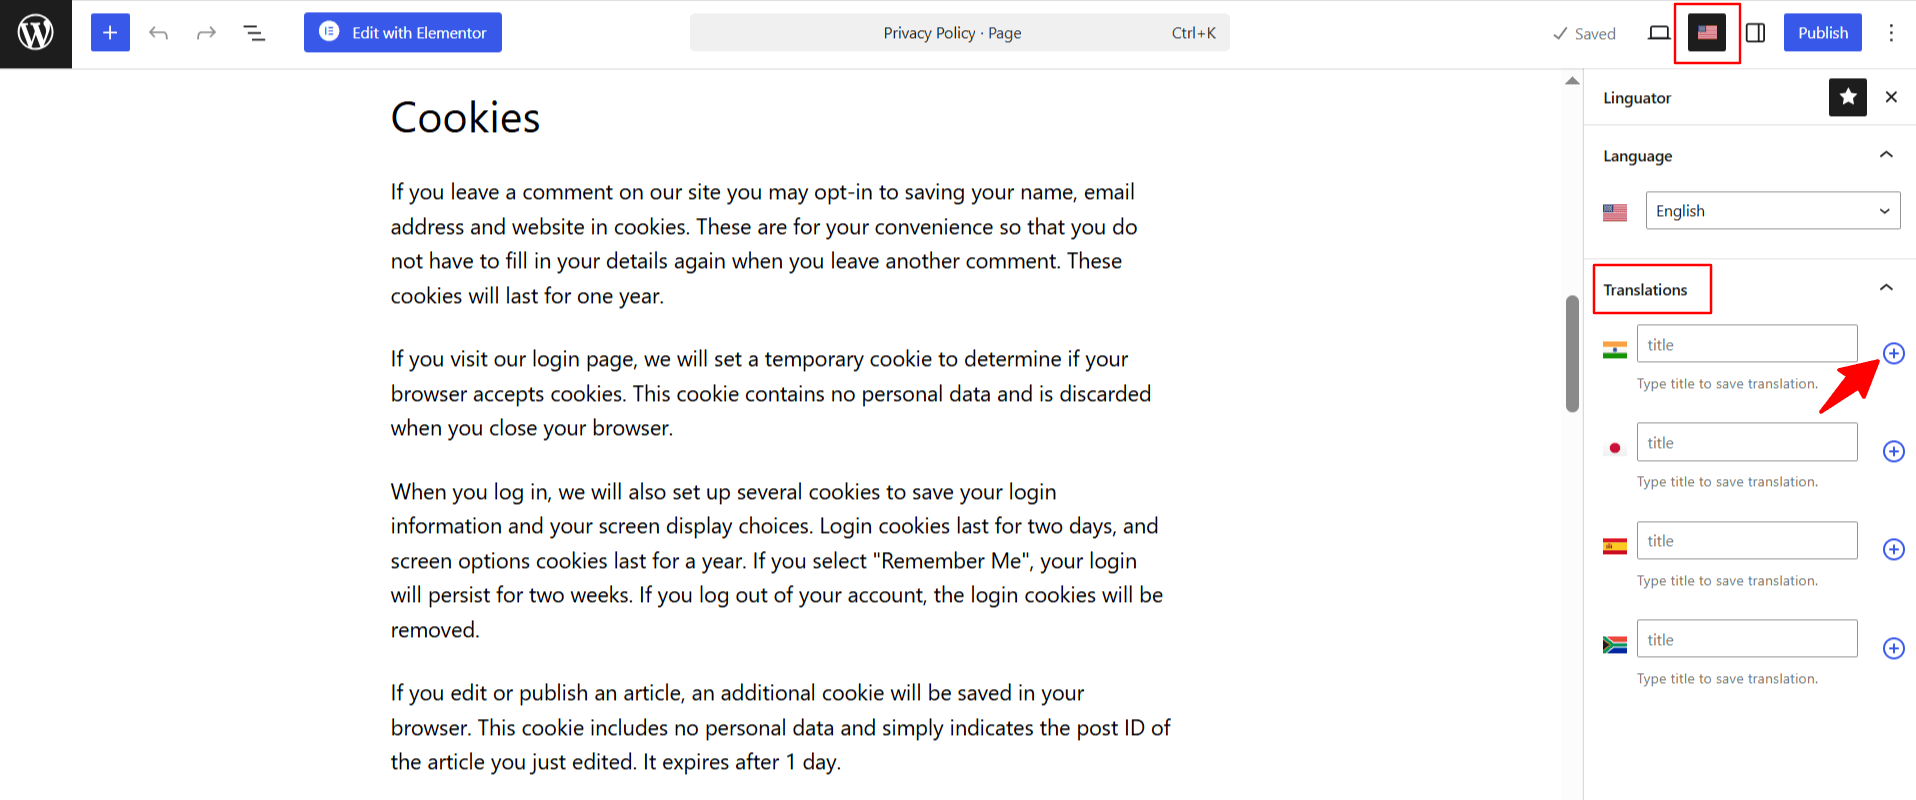
- Click the “+” icon next to the language for which you want to add a manual translation.
- A new Gutenberg editor window will open for the selected language.
- You can now manually rewrite or paste the translated content.
- Once done, click Publish and Preview your page.
Automatic Translation
If you prefer automatic translation over manual translation, then follow the steps below to automatically translate your webpage content using Linguator:
- Navigate to Pages or Posts from your WordPress dashboard.
- From the sidebar of the page editor, access languages settings tab.
- Choose the language in which you want your page to be translated.
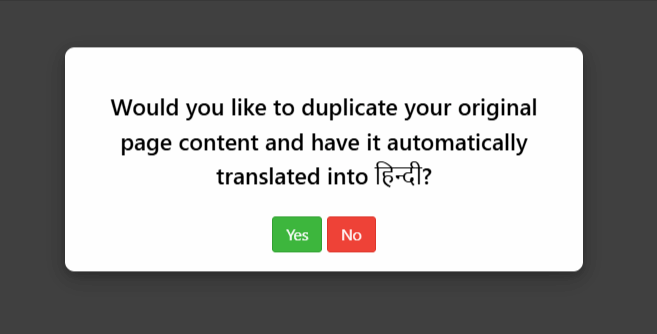
- A prompt will appear asking if you want to duplicate the original page content. Select “Yes”.
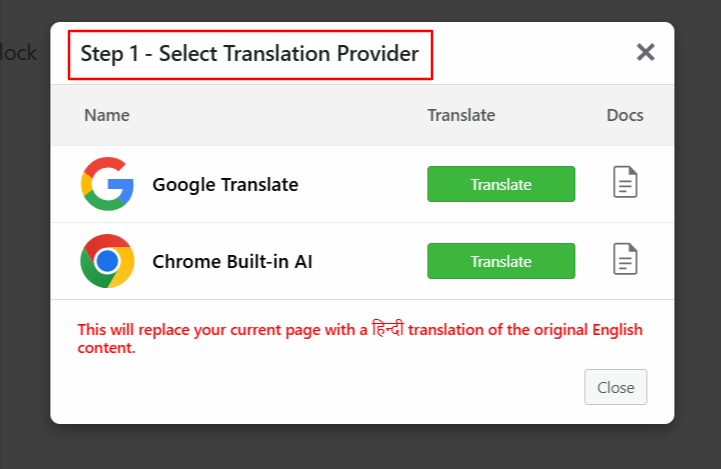
- Next, a new box titled Select Translation Provider will appear. Choose a translation provider.
- Once selected, a tab containing both the source text and translation text will appear.
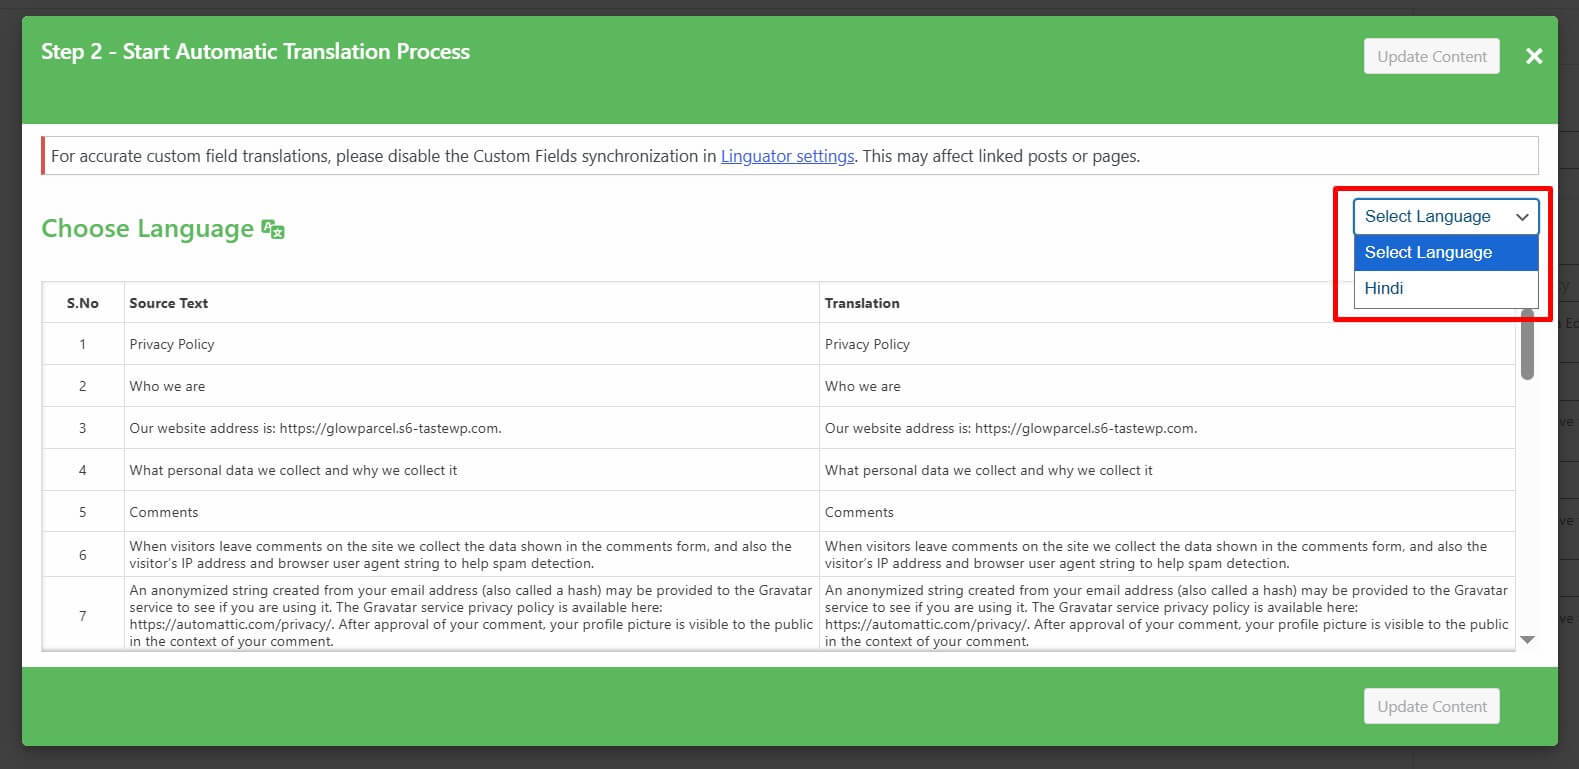
- Click Translate. The translation process will begin, and wait for a few minutes.

- After the translation completes, click Update Content.
- All content of the website will be translated into a selected language with a single click.
- Now, preview it and make manual edits to adjust translations for better accuracy.
That’s it! You have successfully translated your Gutenberg page automatically using Linguator.
Custom Block Translation
Sometimes, third-party Gutenberg blocks (blocks added by other plugins) may not translate automatically when you use Linguator. In such cases, you have to enable translation for these blocks.
Follow the steps below to translate the custom blocks’ content:
- From your WordPress dashboard, go to the Pages section.
- Edit the page that contains the custom blocks you want to translate.
- When you start the translation, you might notice that your main Gutenberg content gets translated correctly, but the content inside third-party blocks remains in the original language.
- To check whether that block supports translation, navigate to Linguator > Settings > Supported Blocks in your WordPress dashboard. Use the search box to find the block name (for example, “Timeline”).
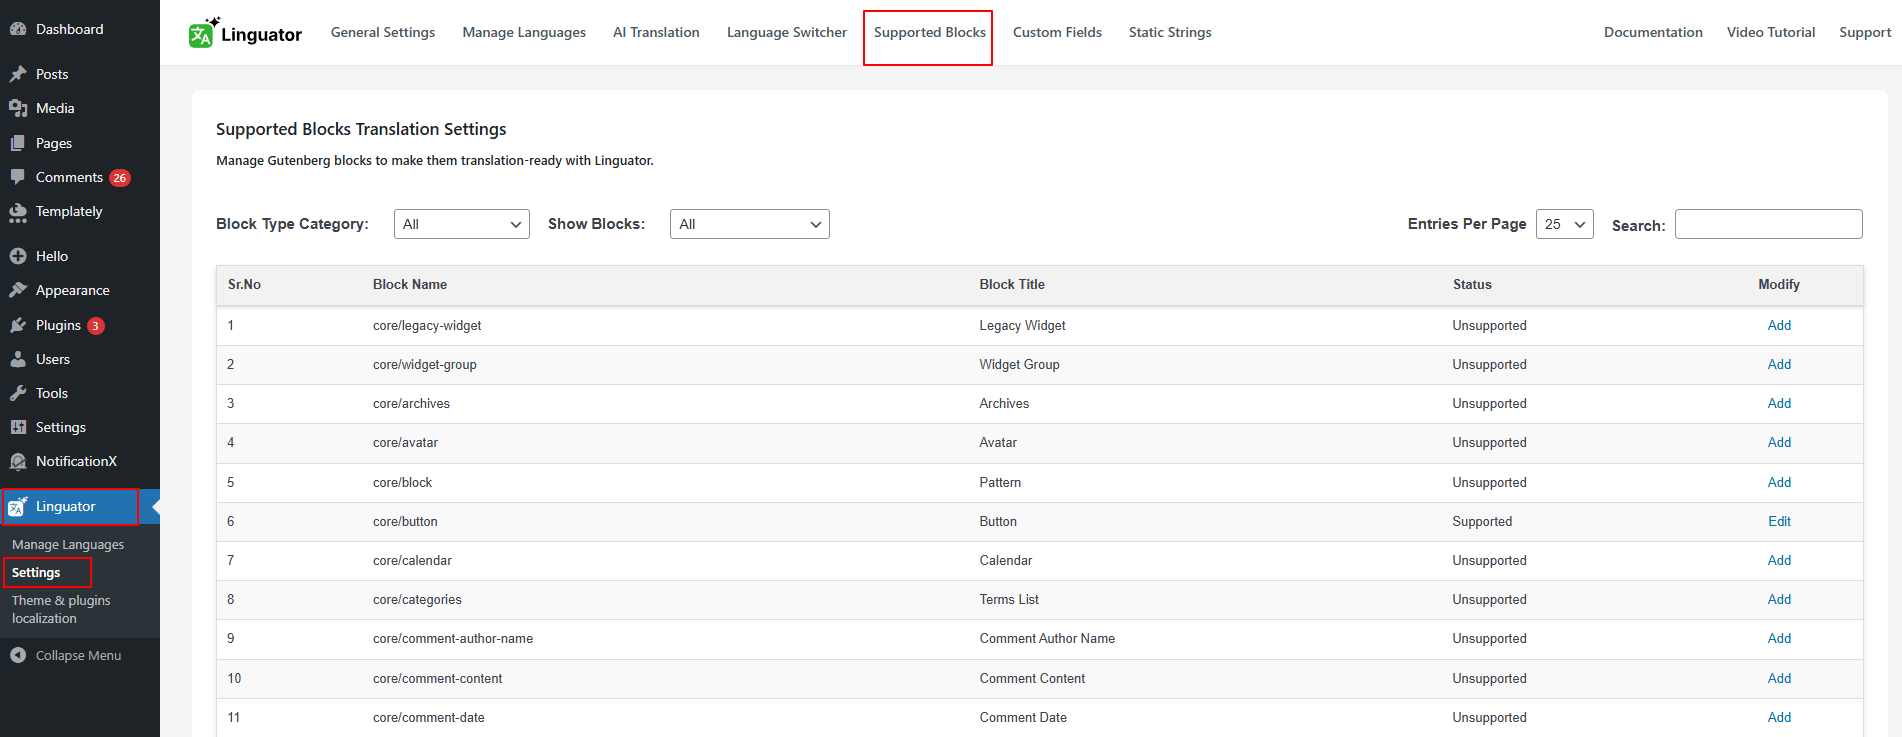
- If the block does not appear in the supported list, it means it cannot be translated automatically. To fix this, click the Add button to make the unsupported block available for translation.
- Click the Copy Text button, paste the copied text into the correct section of the block, and then click Save to apply the changes.

- After this setup, open the same page again and select the target language. Start the translation process once more using Linguator. This time, both your Gutenberg content and the third-party block content will be translated successfully.